Spongebob Easy Painting: Your Simple Guide To Creative Fun
There's something truly special, is that, about making art with your own hands, and when that art features a beloved character like Spongebob Squarepants, the joy just multiplies. Maybe you're looking for a fun activity with the kids, or perhaps you just want a relaxing way to unwind after a long day. Anyway, learning how to do a Spongebob easy painting can be a really delightful experience for anyone, regardless of their artistic background. It's a chance to bring a little bit of Bikini Bottom's cheer into your home, you know, without needing a whole lot of fancy art school training.
This article is going to walk you through everything you need to know, from gathering your basic art supplies to putting the finishing touches on your very own Spongebob. We'll explore simple shapes, easy color choices, and some helpful tips that will make your painting adventure smooth and enjoyable. You'll find out just how accessible painting can be, even for those who might think they don't have a creative bone in their body. It's really more about having fun than making a perfect copy.
So, get ready to unleash your inner artist, perhaps, and discover the pure fun of creating something bright and cheerful. We're going to keep things straightforward and encouraging, making sure you feel confident with every brush stroke. By the end, you'll have a charming piece of art and, more importantly, a happy memory of making it. It's a pretty satisfying feeling, actually, to see your favorite yellow friend come to life on the canvas.
Table of Contents
- Why Spongebob Painting is a Great Idea
- Getting Ready: Your Simple Art Supplies
- Basic Spongebob Shapes: Starting Simple
- Bringing Spongebob to Life: Colors and Details
- Tips for a Happy Painting Experience
- Beyond the Basics: More Spongebob Ideas
- Troubleshooting Common Painting Questions
Why Spongebob Painting is a Great Idea
Getting into painting, even if it's just for fun, offers a bunch of nice benefits. When you pick a character like Spongebob, it makes the whole process even more appealing. He's got such a recognizable look, so, it's pretty easy to get a good result even if you're just starting out with a brush.
Plus, there's a certain charm to creating something from a show that brings so many smiles. It’s a way to connect with a bit of pop culture in a hands-on way. You're not just watching the show; you're actually making a piece of its world. That, in itself, is kind of neat.
And let's be honest, who doesn't love Spongebob? His cheerful nature just makes any project involving him a little brighter. It’s a very positive subject to focus your creative energy on, which can really lift your spirits. So, it's more than just painting; it's about enjoying the process and the character.
For Kids and Grown-Ups Too
This kind of painting project, a Spongebob easy painting, is honestly perfect for just about anyone. Kids absolutely love bringing their favorite cartoon characters to life. It helps them with their hand skills and also lets them use their imagination a bit. They can learn about colors and shapes in a very playful way.
For adults, it’s a wonderful way to relax and take a break from daily stresses. Sometimes, you just need a simple, fun activity that doesn't demand too much thought. It's a chance to be a bit silly and creative, which, frankly, we all need sometimes. You might even find it surprisingly calming.
It’s also a fantastic activity to do together as a family. Imagine everyone gathered around, laughing and painting their own versions of Spongebob. It creates some really sweet memories and gives everyone a shared project. That, you know, is pretty special.
Stress-Free Creative Time
One of the best things about this kind of art is that there's no pressure to be perfect. You're not trying to create a masterpiece for a gallery, after all. The goal is simply to enjoy the process of putting paint on a surface and seeing what happens. This lack of pressure makes it very freeing.
It's a chance to just play around with colors and shapes. If a line goes a bit wonky, or if a color isn't quite right, it's totally fine. In fact, those little imperfections can sometimes add to the charm of your very own Spongebob. It's your unique take on him, and that's what matters.
This kind of relaxed creative time can be really good for your mind. It lets you focus on something simple and enjoyable, which can help clear your head. It's a nice way to unwind, similar to how some people find peace in gardening or cooking. So, grab a brush and just let yourself have some fun.
Getting Ready: Your Simple Art Supplies
Before you even think about putting paint on a surface, it's a good idea to gather everything you'll need. Having your supplies ready makes the whole process smoother and more enjoyable. You won't have to stop mid-painting to search for a brush or a specific color, which can be a bit frustrating.
The great news is, you don't need a lot of expensive or hard-to-find art materials for a Spongebob easy painting. Most of what you need can be found at a local craft store, or you might even have some of it lying around the house already. It's about making it accessible, really.
Think about what you'll be painting on and what kind of paints you want to use. These choices can affect the final look, but for a simple project, pretty much anything goes. Just pick what feels right for you and your budget. It's more about getting started than having the absolute best tools.
What You'll Need
Here’s a basic list of items that will help you get started with your Spongebob easy painting:
- **Paints:** Acrylic paints are a good choice. They dry pretty quickly, clean up with water, and come in lots of bright colors. You'll definitely want yellow, white, black, brown, red, and blue.
- **Brushes:** A few different sizes are helpful. A larger flat brush for big areas, a medium round brush for general painting, and a small, pointy brush for fine details like eyes and smiles.
- **Surface to paint on:** Canvas boards, thick paper (like watercolor paper), or even a piece of cardboard can work. Small canvases are often quite inexpensive.
- **Water container:** An old cup or jar works perfectly for rinsing your brushes. You'll need fresh water for cleaning.
- **Palette:** A plastic plate, a piece of foil, or even an old lid can be used to mix your paints.
- **Paper towels or old rags:** For drying brushes and wiping up any little spills.
- **Pencil and eraser:** For sketching out your Spongebob before you start painting. This is pretty helpful.
That's really all you need to get going. You don't have to go out and buy a huge art set. Just these basic items will let you create something wonderful. So, it's fairly simple to gather everything.
Setting Up Your Space
Before you open any paint, take a moment to set up your painting area. This helps keep things tidy and makes the whole experience more enjoyable. You want a place where you feel comfortable and where you won't mind if a tiny bit of paint gets somewhere it shouldn't.
Find a flat surface, like a table, and cover it with some old newspapers, a plastic tablecloth, or even a few old paper bags. This protects your table from any accidental drips or splatters. It's a pretty good idea to protect your clothes too, maybe with an old shirt or an apron.
Make sure you have good lighting, too it's almost, so you can clearly see what you're doing. Natural light from a window is great, but a well-lit lamp works just as well. Having everything within easy reach, like your water cup and paper towels, also makes a big difference. It's about making it easy on yourself.
Basic Spongebob Shapes: Starting Simple
The key to a Spongebob easy painting is breaking him down into his most basic shapes. Spongebob, at his core, is pretty much a square with some additions. If you can draw a square, you're already well on your way to painting him. We'll start with a pencil sketch first, which is really helpful.
Don't press too hard with your pencil. Just light lines that you can easily erase later if you need to make changes. This sketch acts as your guide, sort of like a map for where your colors will go. It takes away some of the guesswork, which is nice.
Remember, this isn't about drawing perfectly straight lines or exact measurements. It's about getting the general shape down so you have something to paint over. So, relax and just enjoy the process of sketching out your friendly character. It's actually quite fun.
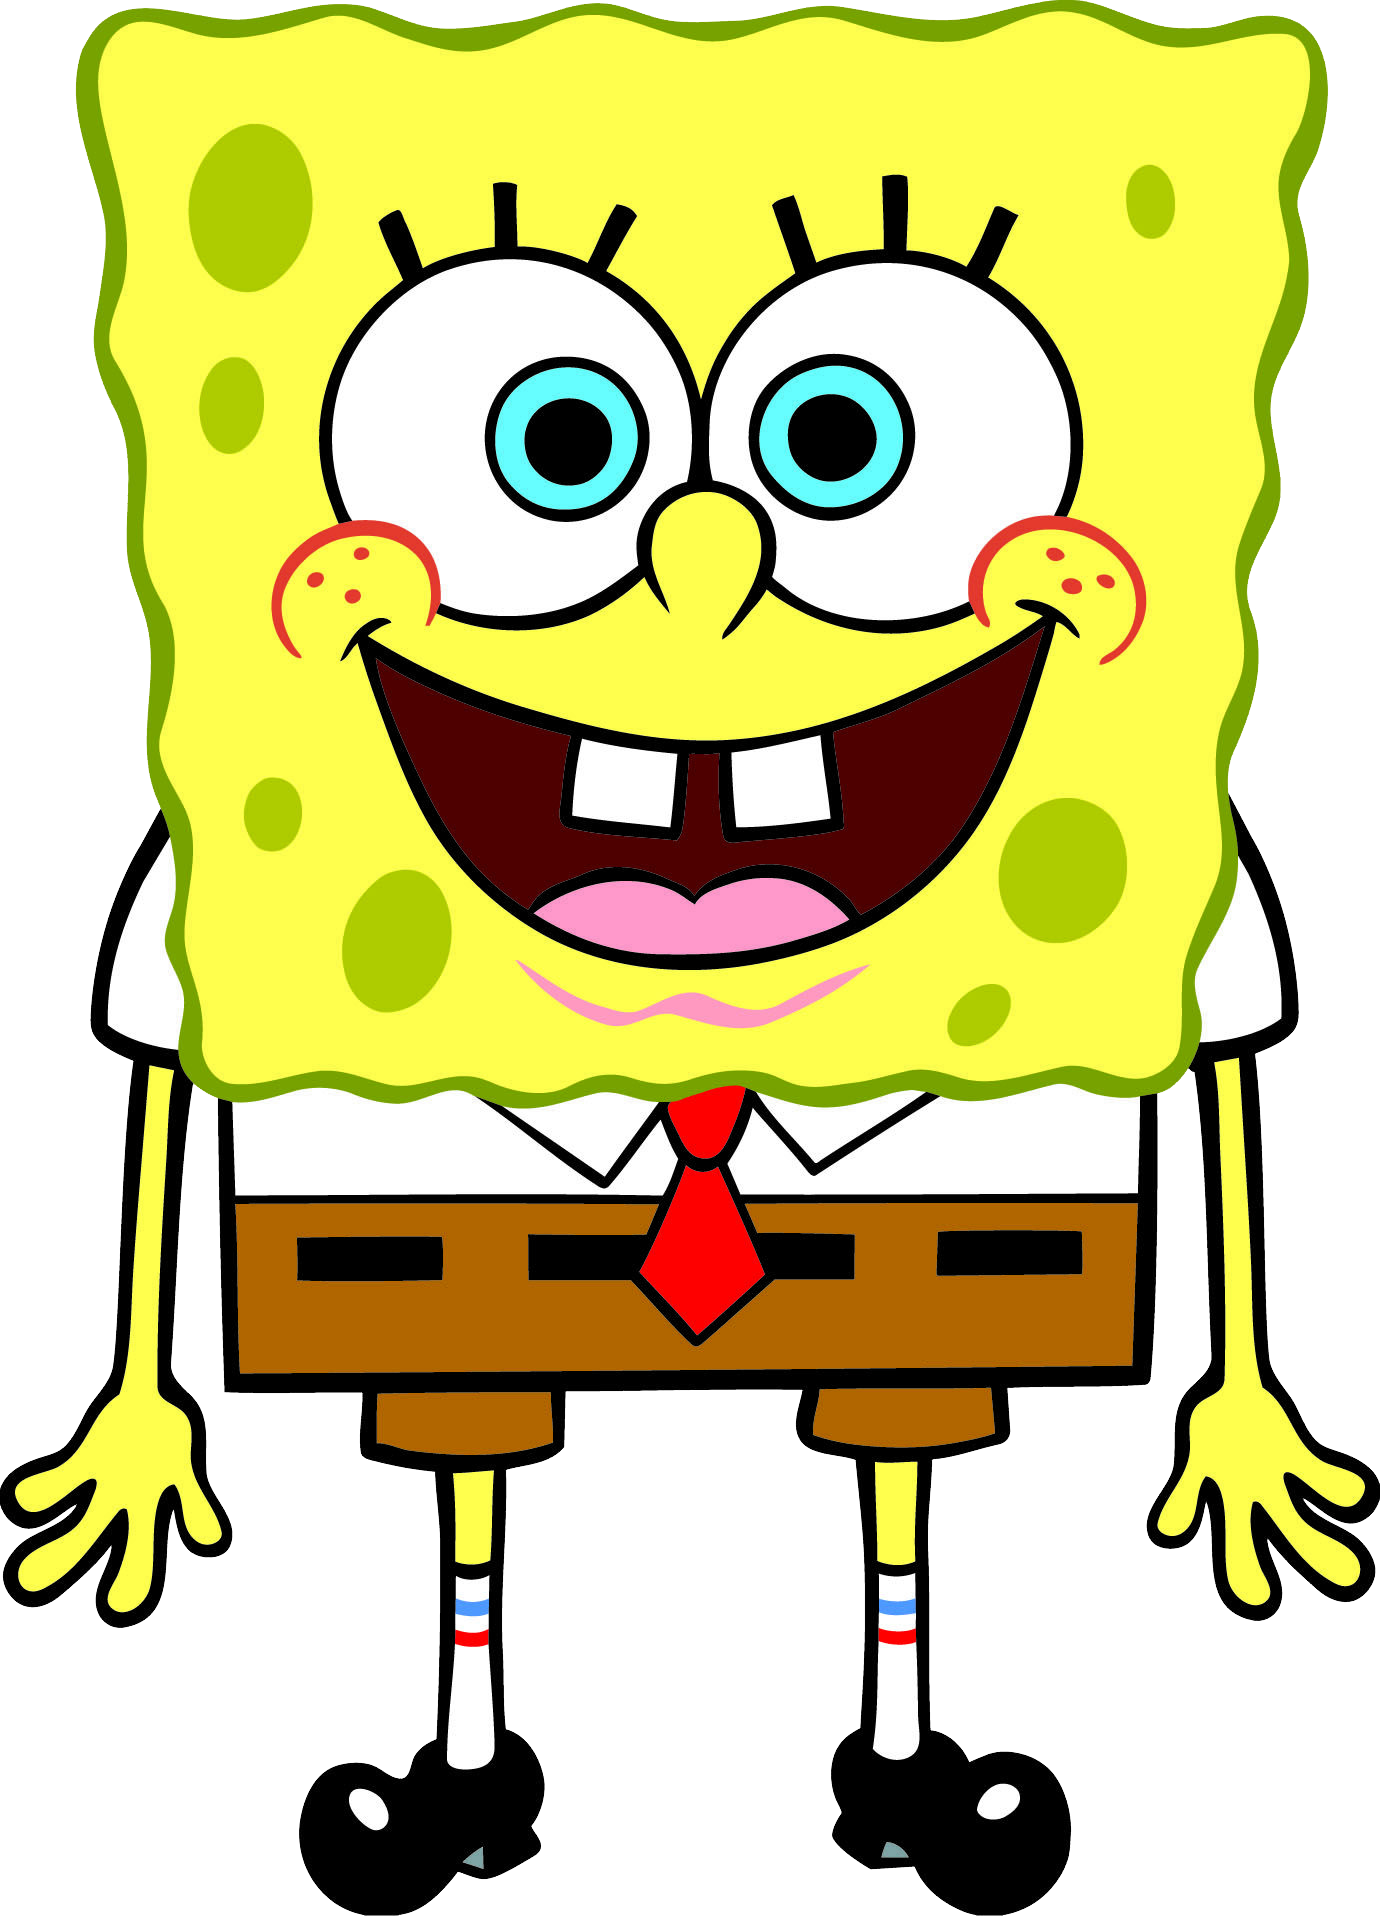
The Main Body: A Yellow Square
Start by drawing a large square in the middle of your painting surface. This will be Spongebob's body. Make it a good size so you have plenty of room for his features. You can make the corners a little bit rounded if you want, but a basic square works perfectly.
Now, think about his wavy edges. Spongebob isn't a perfectly smooth square; he has those little bumps and curves along his sides. You can lightly sketch these in now, or you can add them with your paint later. It's really up to you and what feels easier.
Once you have your square, you can lightly draw a line across the bottom third of the square. This will be where his pants begin. This helps divide his body into the right sections for coloring. It's a simple step, but it makes a big difference in getting his proportions right.
Adding His Pants and Shirt
Below the line you just drew for his pants, you'll want to add a rectangular shape for his brown trousers. This part should be about a third of his total body height. It's a pretty distinct part of his look, so getting this shape right is good.
Above the pants line, still within the main yellow square, you'll need to sketch his white shirt collar. This usually looks like two small triangles or points that come down from his neck area. Then, just below that, draw a small red tie. It's just a simple, narrow shape.
These details, even though they're small, really start to make him recognizable. It’s amazing how a few simple shapes can bring a character to life. Don't worry if they're not absolutely perfect; the paint will smooth things out a bit. Just aim for the general idea.
His Arms and Legs
For Spongebob's arms, draw two thin, somewhat wiggly lines coming out from the sides of his body, just above where his pants start. These lines should bend a little, giving them a bit of movement. At the end of each arm, draw a simple rounded shape for his hands, which usually have three fingers.
His legs are also quite thin and come out from the bottom of his brown pants. Draw two more thin lines downwards. At the very bottom, you'll add his black shoes. These are usually just simple, somewhat rounded rectangular shapes. He's got quite distinct footwear, after all.
Remember, Spongebob is a cartoon, so his body parts are a bit exaggerated and bendy. Don't feel like you need to draw them perfectly straight. A little bit of character in the lines can actually make your painting more charming. So, just have fun with it.
Bringing Spongebob to Life: Colors and Details
Now comes the really fun part: adding color! This is where your Spongebob easy painting truly starts to pop. We'll use the basic colors that make him so recognizable. It’s like filling in a coloring book, but with paint, which is pretty exciting.
Take your time with this step. You might need to apply a second coat of paint in some areas to make the colors really bright and solid. Just let the first coat dry a bit before adding another layer. This helps prevent the colors from getting muddy.
And remember, the details are what give Spongebob his personality. Those big eyes, the happy smile, and his unique holes all contribute to his look. So, get ready to bring him to life with your brush!
Choosing Your Colors
You'll want to start with the largest areas first. For Spongebob's body, use a bright yellow. Paint carefully within the lines you sketched, covering the entire square shape above his pants. This is his most prominent feature, so make it nice and vibrant.
Next, move on to his brown pants. Fill in the rectangular shape you drew at the bottom. Then, use white for his shirt and collar. For his tie, you'll need a bright red. These colors are pretty standard for him, so it’s easy to pick them out.
For his arms and legs, you can use the same yellow as his body. His socks are white, and his shoes are black. Getting these basic colors down first gives you a good foundation to work on. It's a pretty straightforward process, really.
Painting the Face: Eyes, Nose, Mouth
Now for his friendly face! Use white paint for his large, round eyes. Place them in the upper half of his yellow body. Once the white is dry, add a blue circle inside each eye for the iris, and then a small black dot in the center for the pupil. You can also add a tiny white dot on the black pupil for a little sparkle, which makes them seem more alive.
His nose is a fairly long, slightly curved shape that sticks out from the middle of his face. Paint this yellow, just like his body. For his mouth, draw a wide, happy curve with black paint. Inside his mouth, you can add two small white squares for his front teeth.
And don't forget his rosy cheeks! These are usually two small, round orange or light red spots, one on each side of his face. These small details really make him look like the Spongebob we all know and love. It's quite amazing how much personality these simple features add.
Those Signature Holes
Spongebob wouldn't be Spongebob without his sponge holes! These are usually irregularly shaped circles or ovals scattered across his yellow body. You can paint these with a slightly darker yellow or a light brown color. This gives them a bit of depth and makes them stand out.
Don't worry about making them perfectly round or evenly spaced. In fact, a bit of randomness makes them look more natural, like a real sponge. Some can be bigger, some smaller. It's your Spongebob, so you get to decide how many holes he has!
You can also add a few freckles on his cheeks with tiny brown dots. These are small touches, but they add to his charm. Once all your paint is dry, you can use a fine black brush or a black marker to outline all the features, which really makes them pop. This is a very satisfying step.
Tips for a Happy Painting Experience
Painting should be a fun and relaxing activity, not something that causes stress. Here are a few pointers that can help you have a really good time with your Spongebob easy painting. These are simple things, but they can make a big difference in your overall enjoyment. It's about the journey, you know, not just the finished piece.
Remember that everyone starts somewhere, and even experienced artists have days where things don't go exactly as planned. The important thing is to keep a positive attitude and just enjoy the creative process. It's a chance to unwind and express yourself a bit.
So, take a deep breath, put on some cheerful music, and just let yourself get lost in the colors and shapes. These tips are here to support you, not to add more rules. It's really about making it easy and pleasant for you.
Don't Worry About Perfection
This is probably the most important tip of all. When you're doing a Spongebob easy painting, the goal isn't to create an exact replica of the cartoon character. It's about having fun and expressing your own creativity. If his eyes are a little uneven, or his smile is a bit crooked, that's perfectly fine!
Those little quirks are what make your painting unique. It's your personal interpretation of Spongebob, and that's something to celebrate. Think of it as adding your own special touch. There's no right or wrong way to make art, especially when it's just for enjoyment.
So, let go of any pressure to be perfect. Just enjoy the act of painting, mixing colors, and watching Spongebob come to life under your brush. The joy is truly in the making, not just the finished product. It's a very freeing way to approach art.
Take Your Time
Painting isn't a race. There's no need to rush through your Spongebob easy painting. Take your time with each step, letting colors dry if you need to before adding another layer or detail. Rushing can lead to frustration and messy results, which we definitely want to avoid.
Enjoy the process of mixing paints, applying strokes, and seeing your character slowly appear. If you feel yourself getting impatient, take a short break. Step away from your painting for a few minutes, stretch, or grab a drink. Sometimes, a fresh pair of eyes can make a big difference.
This is your creative time, so savor it. Let it be a relaxing escape from your usual routine. The more patient you are with yourself and your painting, the more enjoyable the experience will be. It's a bit like a slow, steady journey.
Clean Up Is Easy
One thing that often stops people from painting is the thought of a big, messy clean-up. But with acrylic paints, it's actually pretty simple. As soon as you're done painting, rinse your brushes thoroughly with water. Don't let the paint dry on them, as it can be hard to get off later.
Wipe down your palette and any other surfaces with a damp cloth or paper towel. Since acrylics are water-based, they clean up easily with just water and a little soap if needed. It's a good habit to clean up right away, so you don't have dried paint to deal with later.
Having a quick and easy clean-up process means you'll be more likely to paint again soon. It takes away one of the common barriers to getting creative. So, don't let the clean-up worry you; it's honestly not a big deal at all.
SpongeBob PNG
SpongeBob PNG
Spongebob - Spongebob Squarepants Photo (33210742) - Fanpop
